Reolink Camera Connection Failed: 2024 Smart Home Troubleshooting Guide
Introduction
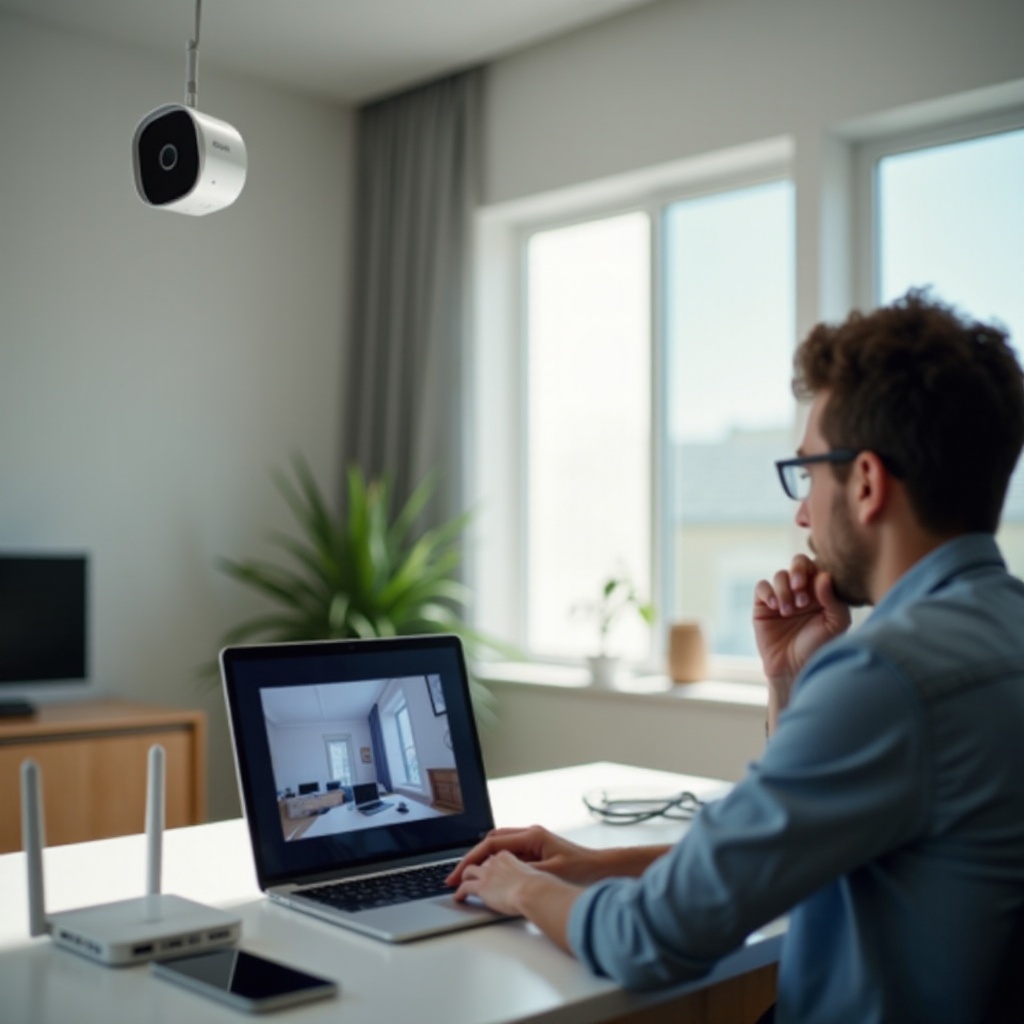
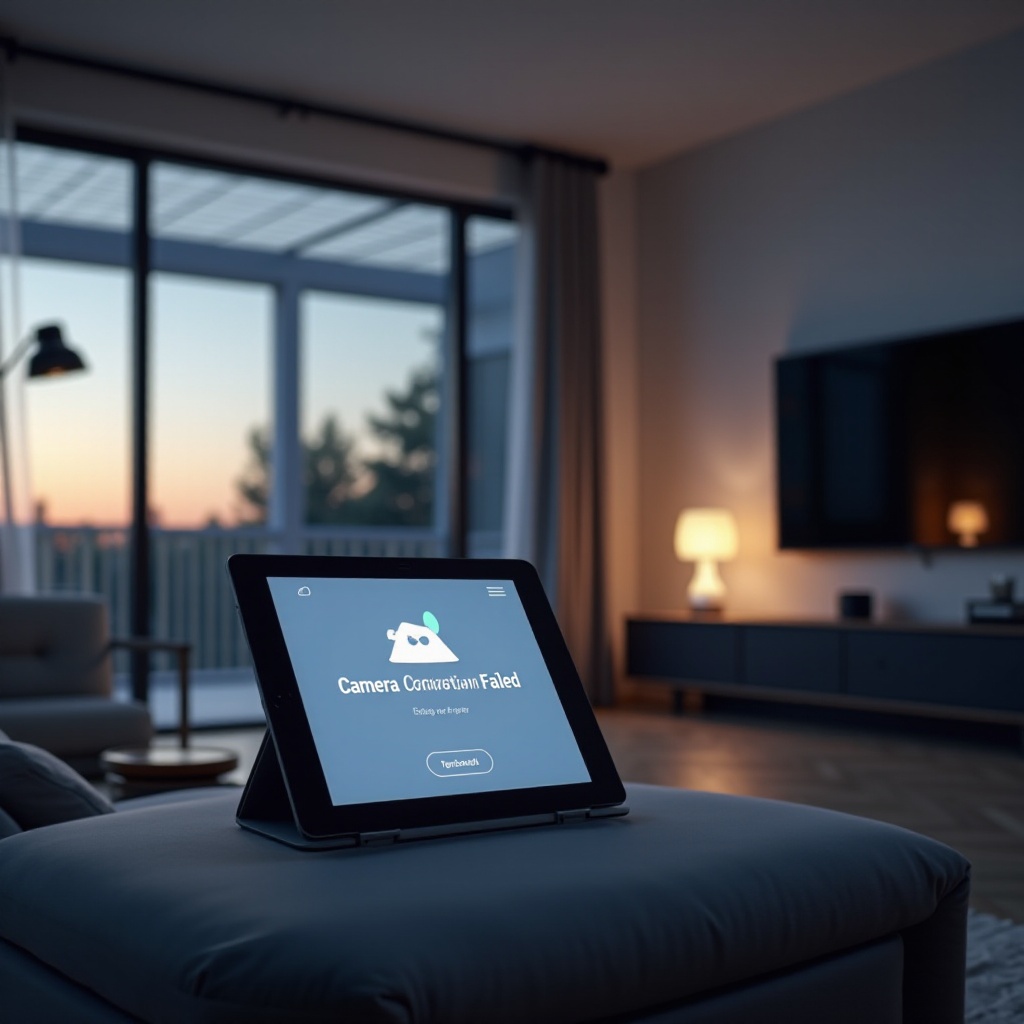
Reolink camera connection failed’ is one of the most frustrating messages you can see when you rely on cameras to protect your home. You open the app to check your front door or backyard, and instead of a live view, you get an error. No video. No peace of mind.
The good news is that most Reolink connection problems come from a few common causes. You can often fix them in minutes with simple checks to your network, camera, and app. You do not need to be a network engineer or a smart home expert to solve most of these issues.
This guide walks you through clear, practical steps to diagnose and fix Reolink camera connection failed errors. You will learn how to tell if the issue comes from Wi‑Fi, PoE, your NVR, the app, or your internet connection. You will also see how to design a more stable smart home setup so the problem does not keep coming back.
After looking at the basics, the next step is to understand what this error actually means in a modern smart home network. That context will help you narrow down the real cause much faster.
What ‘Reolink Camera Connection Failed’ Really Means in a Smart Home
When your Reolink app shows ‘connection failed’, it does not always mean the camera is broken. It simply means the app cannot reach the camera in a way that allows it to stream video or data. That failure can happen at different points between your phone, your network, and the camera.
Local network vs. remote access problems
First, separate local issues from remote ones.
- Local connection: Your phone is on the same home network as your camera.
- Remote connection: You access the camera from mobile data or another Wi‑Fi network using Reolink’s P2P (peer‑to‑peer) service or port forwarding.
If the camera works fine while you are at home but fails when you are away, the problem likely sits with:
- P2P status or cloud connectivity
- Port forwarding settings
- Your router or ISP blocking traffic
If the camera fails both locally and remotely, you may have:
- Power issues
- Camera or NVR network issues
- Wi‑Fi or Ethernet problems
Knowing where the failure happens helps you avoid random guesswork and focus on the right layer of your system.
Wi‑Fi vs. PoE/NVR connection failures
Next, think about how the camera connects to your network:
- Wi‑Fi cameras: Depend on your wireless signal and router settings.
- PoE (Power over Ethernet) cameras: Rely on the cable, PoE port, switch, and NVR or router.
Wi‑Fi issues often show up as:
- Frequent disconnects
- Poor live view quality
- Connection failed errors that come and go
PoE/NVR issues often show up as:
- No image on the NVR for one or more channels
- Camera missing from the app even though the NVR is online
- ‘Connection failed’ only for specific cameras or channels
Different connection types need different fixes, which we will cover in the next sections.
How other smart devices can affect your Reolink cameras
Smart homes now include many devices: bulbs, plugs, locks, thermostats, speakers, TVs, and more. Each one uses your network. Too many devices or poor network design can lead to:
- Congested Wi‑Fi channels
- Router CPU or memory overload
- IP address conflicts
Any of these can cause Reolink camera connection failed errors. That is why you should look at your whole smart home network, not just the camera.
Now that you know what the error really means, you can start with a few quick checks. These basic steps help you rule out simple causes before you touch deeper network settings.
Quick Checks Before Deep Troubleshooting
Before you dive into router menus or advanced network tweaks, rule out basic problems. Many connection issues disappear after simple power or app checks. This saves time and gives you a clean baseline before you change anything more complex.
Confirming camera power and indicator LEDs
Start with the camera itself.
- Check power:
- For Wi‑Fi cameras: confirm the power adapter is firmly plugged into the outlet and camera.
- For PoE cameras: confirm the Ethernet cable is firmly connected to the PoE port on the NVR or PoE switch.
- Look at status LEDs:
- Check for lights on the camera or PoE port.
- No light often means no power or a bad cable.
- Blinking patterns may indicate booting or error states (check your specific model’s manual).
If the camera has no power, fix that first. No network change will help until the camera is powered on and fully booted.
Verifying your phone and Reolink app connection
Next, make sure the device you are using to view the camera is actually online and connected to the right account.
- Check that your phone has internet access by opening a website or another app.
- Confirm your phone is on the correct Wi‑Fi network if you are at home.
- If you use mobile data, toggle it off and on, then reopen the Reolink app.
Also:
- Confirm you are signed into the correct Reolink account.
- If you share access, make sure the owner did not remove your access or change passwords.
Sometimes, the ‘connection failed’ error is not the camera but the viewing device, the app session, or the account.
Reboot order: camera, router, modem, and mobile device
If power and app access look fine, perform a clean reboot sequence. This often clears hidden glitches.
- Turn off or unplug the camera (or cameras).
- Reboot your router and modem. Wait until they are fully up and online.
- Turn the camera back on and wait a couple of minutes for it to start.
- Reboot your phone or tablet.
- Open the Reolink app and test live view again.
This sequence clears many temporary routing issues and memory problems. If the error remains after these quick checks, it is time to look at how the camera connects, starting with Wi‑Fi.
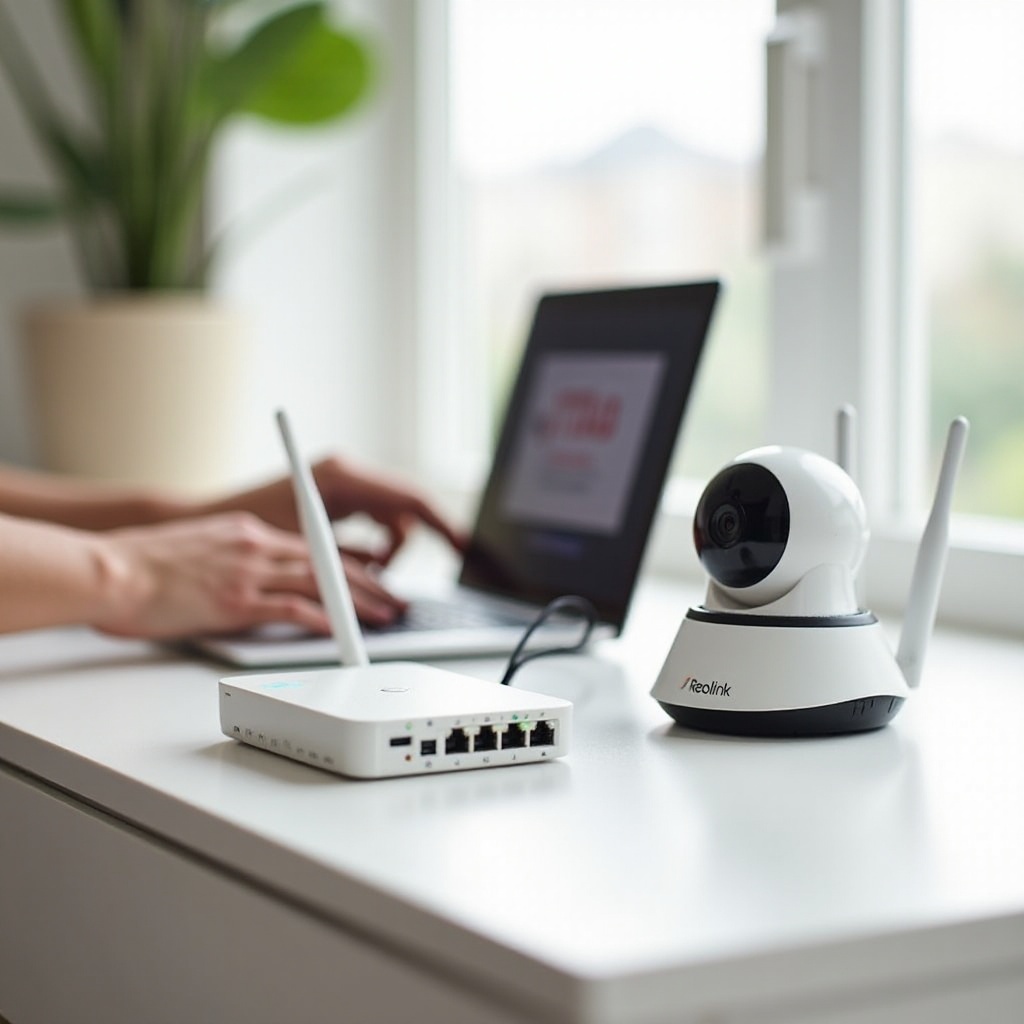
Fixing Reolink Wi‑Fi Camera Connection Failed Errors
If you use Reolink Wi‑Fi cameras and still see ‘connection failed’ after basic checks, the issue usually lies with network settings, signal strength, or how your Wi‑Fi is set up. Getting the wireless side right is essential before you assume a hardware fault.
Ensuring 2.4 GHz Wi‑Fi and correct SSID/password
Most Reolink Wi‑Fi cameras support 2.4 GHz only. If your router broadcasts only 5 GHz or uses a combined SSID that forces devices to 5 GHz, your camera will fail to connect.
Do this:
- Log into your router admin page.
- Confirm that the 2.4 GHz band is enabled.
- If you use a single SSID for both bands, consider temporarily creating a separate SSID for 2.4 GHz, such as ‘Home_2G’.
- Check the Wi‑Fi password and make sure you type it exactly the same in the Reolink app.
If you recently changed your Wi‑Fi name or password, you must update it in the camera by resetting and reconnecting it through the Reolink app. A mismatch here is one of the most common reasons for a Reolink camera connection failed error during setup.
Optimizing camera placement and signal strength
Weak Wi‑Fi signal is another common cause of dropped connections and ‘connection failed’ errors.
Consider:
- Distance from the router: if the camera is far away, move it closer temporarily to test.
- Physical barriers: thick walls, metal structures, and appliances can block signal.
- Interference: microwaves, baby monitors, and older cordless phones can cause issues.
To improve signal:
- Move the router to a more central location if possible.
- Use a Wi‑Fi extender or mesh node closer to the camera.
- Avoid placing the camera behind metal screens or near large appliances.
If the camera works well when close to the router but fails in its final location, signal strength is the main issue and you should improve coverage before changing deeper network settings.
Router settings that break Reolink connections (security, channel, DHCP)
Some router settings can cause Reolink camera connection failed problems even when the signal is strong.
Check these:
- Security mode: Use WPA2‑PSK or WPA3‑compatible modes. Avoid outdated WEP.
- Channel: Set the 2.4 GHz channel to auto, or try channels 1, 6, or 11 to reduce interference.
- DHCP: Ensure DHCP is enabled so the router can give the camera an IP address.
You can also:
- Reserve a static IP for the camera in the router to prevent IP changes.
- Disable overly aggressive firewall rules or MAC filtering that might block the camera.
After making changes, reboot the router and camera, then test again in the Reolink app. If Wi‑Fi is still unstable, your home may rely on mesh Wi‑Fi or extenders. Those systems need a bit more tuning.
Handling mesh systems, extenders, and dual‑band routers
Smart homes often use mesh Wi‑Fi or extenders. These can confuse devices like cameras if not set properly.
Helpful tips:
- Ensure the node or extender closest to the camera has a strong backhaul to the main router.
- Turn off ‘band steering’ or ‘smart connect’ temporarily if the camera struggles to stay on 2.4 GHz.
- If you have separate SSIDs for each band, connect the camera only to the 2.4 GHz one.
If you notice the camera connects when near one mesh node but fails when it roams to another, you may need to:
- Fix the camera to a specific node if your system allows it, or
- Adjust node placement so the camera does not sit on the edge of coverage.
Once you are confident that Wi‑Fi is not the issue or you use wired cameras, the next step is to look at PoE and NVR connections. Wired systems are more stable but still can trigger connection errors when something in the chain fails.
Solving Reolink PoE and NVR Connection Problems
Wired Reolink setups with PoE and NVRs are usually more stable than Wi‑Fi, but they can still show ‘connection failed’ when there is a cabling or network configuration issue. The advantage with wired links is that you can test each part of the chain more directly.
Checking Ethernet cables, PoE ports, and power output
First, make sure the physical connection is sound.
- Inspect the Ethernet cable for visible damage or tight bends.
- Make sure the cable clicks firmly into the camera and NVR or PoE switch.
- Check the PoE port LEDs on the NVR or switch. If there is no light, try:
- A different port
- A different cable
- Another camera on the same port
If another device works on that port, the original camera or cable may be faulty. If no device works on that port, the port itself or the PoE power may be the problem.
IP address conflicts and subnet mismatches on wired networks
When cameras connect by cable, each one needs a unique IP address on the correct subnet.
Problems happen when:
- Two devices share the same IP address.
- The NVR uses a different subnet from your main router.
- You try to access a camera directly, but it sits on a hidden NVR subnet.
To fix this:
- Log in to your NVR or PoE switch network settings.
- Check each camera’s IP address.
- Set static IPs outside your router’s DHCP range, or let the NVR manage IPs automatically.
- Ensure the NVR’s network settings match your router’s subnet (for example, both use 192.168.1.x).
If the app shows ‘connection failed’ for one camera but others are fine, an IP conflict is a likely cause. Cleaning up the IP plan often restores stable connections.
Adding or re‑adding cameras to the NVR
Sometimes the NVR loses connection to a camera after a reset, firmware change, or cable issue.
Try this process:
- Open the NVR interface (on a monitor or via client software).
- Go to the device management or channel page.
- Remove the problematic camera entry.
- Use ‘Add’ or ‘Scan’ to detect and re‑add the camera.
- Enter the correct username and password for that camera if needed.
Once the NVR sees the camera and shows a live preview, check the Reolink app again. If the NVR streams to the app but one channel still fails, re‑adding the channel usually solves it.
When the NVR connects but the Reolink app says ‘connection failed’
If you can see all cameras on the NVR locally but the app says ‘connection failed’, the issue is likely with network access outside the NVR.
Common causes:
- NVR network access to the internet is down or misconfigured.
- P2P status is turned off or blocked by the router.
- Incorrect NVR password or UID stored in the app.
Check these steps:
- In NVR network settings, confirm gateway, DNS, and IP values so the NVR can reach the internet.
- In P2P settings, make sure P2P is enabled and shows ‘Online’.
- In the app, remove the NVR device and add it again via QR code or UID, entering the correct credentials.
Once the physical and network layers look solid, you should review the software side. App glitches, outdated firmware, and P2P settings can also trigger the ‘Reolink camera connection failed’ message.
App, Firmware, and Account Issues That Cause Connection Failed
Even a perfectly wired and configured camera can fail if the app, firmware, or account is out of date or corrupted. Before you assume a hardware fault, confirm that all software layers are up to date and healthy.
Updating the Reolink app and camera/NVR firmware
Outdated software can cause compatibility issues and bugs that show up as connection failures.
Do this regularly:
- Open the App Store or Google Play Store and update the Reolink app.
- Open the app, go to the device settings, and check for firmware updates for:
- Each camera
- The NVR, if you have one
Follow Reolink’s instructions carefully. Avoid interrupting power during firmware updates to prevent corruption. Many stability fixes arrive through these updates, so staying current helps prevent repeated errors.
Clearing cache, permissions, and re‑logging into your account
On your phone or tablet:
- Clear the Reolink app cache in the system app settings.
- Make sure the app has permissions for network, storage, and notifications.
- Log out of your Reolink account, close the app fully, then log back in.
- If needed, uninstall and reinstall the app, then add your devices again.
This resets any broken session or corrupted local data that might cause ‘connection failed’ messages, especially after major app updates.
Fixing P2P status and remote viewing failures
When you are away from home, the app often uses P2P to reach your cameras or NVR.
Check P2P:
- In the app or NVR menu, locate the P2P option.
- Confirm it is enabled and shows a status like ‘Online’.
- If it shows ‘Offline’, check:
- The NVR or camera has internet access.
- Your router does not block P2P traffic or cloud services.
- Any VPN or strict firewall is not interfering.
If P2P keeps failing, you can also consider setting up port forwarding or using a VPN to access your home network for advanced setups. Once your app, firmware, and P2P status are stable, you can think about long‑term prevention so you do not keep chasing the same error.
Preventing Future ‘Reolink Camera Connection Failed’ Errors in a Smart Home
A stable smart home camera system starts with a stable network. The more devices you add, the more important planning becomes. Preventing issues is easier than reacting to constant connection failures.
Designing a stable home network for multiple cameras and IoT devices
To support several Reolink cameras plus other smart devices:
- Use a modern router that can handle many connections.
- Enable Quality of Service (QoS) if available to prioritize video streams.
- Avoid overloading a single Wi‑Fi band with too many devices.
For heavy camera setups:
- Consider using PoE and Ethernet where possible.
- Keep your main Wi‑Fi for phones, laptops, and streaming devices.
This separation reduces congestion and connection failure risks, especially when all devices compete for bandwidth in busy homes.
Using separate SSIDs or VLANs for smart home security devices
For better security and stability:
- Create a separate IoT SSID (for example, ‘Home_IoT’) for cameras and smart devices.
- Keep your main SSID for your personal and work devices.
Advanced users can set up VLANs to isolate IoT traffic even more. This helps you:
- Reduce interference between devices.
- Limit the impact if one device is compromised.
- Make troubleshooting easier because you know which devices share a network segment.
Routine maintenance: firmware updates, backups, and health checks
Every few months:
- Check for firmware updates on cameras and NVR.
- Reboot your router and NVR to clear memory and refresh connections.
- Review camera and NVR logs for repeated disconnections.
- Back up NVR settings so you can restore them quickly after a reset or replacement.
Regular maintenance keeps your system stable and reduces surprise outages. However, even with good planning, some problems still come from faulty hardware or complex network limits, and you may need outside help.
When to Contact Reolink Support or a Professional Installer
Sometimes, you can spend hours adjusting settings when the real problem is a failing device or a rare bug. Knowing when to ask for help saves time and protects your security system.
Signs of hardware failure vs. network misconfiguration
You may have a hardware issue when:
- The camera has no LED or power despite a known‑good cable and port.
- The camera or NVR crashes or reboots constantly.
- Only one device fails while others on the same network work perfectly.
- A camera works in one test location but fails in another identical port or cable, suggesting intermittent faults.
Network misconfiguration is more likely when:
- Many devices have random connection issues.
- Problems started right after changing router, ISP, or network settings.
- Replacing the router or modem changed how devices get IP addresses.
What diagnostic information to collect before opening a ticket
Before you contact Reolink support or a professional installer, collect:
- Camera and NVR model numbers
- Firmware versions for each device
- Screenshots of error messages (‘Reolink camera connection failed’)
- A simple network diagram (router, switches, mesh nodes, extenders)
- A short description of what you already tried and when the problem started
With this information ready, support can help you faster and suggest more precise fixes. Clear details reduce back‑and‑forth and get your cameras online again more quickly.
Conclusion
Reolink camera connection failed’ is annoying but rarely permanent. Most issues come from simple causes: weak Wi‑Fi, misconfigured networks, outdated firmware, or small app glitches. By following a structured approach, from basic power checks through Wi‑Fi tuning, PoE and NVR verification, and app and P2P fixes, you can restore your live view in a calm, logical way.
Once your cameras are stable, take time to design a solid smart home network and keep everything updated. A little planning now can save you many hours of frustration later and keep your home security reliable day and night.
Frequently Asked Questions
Why does my Reolink camera keep saying ‘connection failed’ even after I reset it?
If your Reolink camera still shows ‘connection failed’ after a reset, the problem is likely outside the camera. Common causes include using the wrong Wi‑Fi band (5 GHz instead of 2.4 GHz), an incorrect or recently changed Wi‑Fi password, weak signal or interference at the camera location, and router settings such as security mode, DHCP, or firewall rules. Confirm the 2.4 GHz SSID and password, test the camera close to the router, and review your router configuration before assuming a hardware fault.
Can I use Reolink cameras reliably with mesh Wi‑Fi and many other smart home devices?
Yes, Reolink cameras can work well with mesh Wi‑Fi and many smart devices if you design your network carefully. Make sure mesh nodes have strong backhaul links, place a node close to each camera, and consider using a dedicated 2.4 GHz SSID if band steering causes issues. Avoid overloading a single node with too many devices. With proper placement and configuration, Reolink cameras can stay stable even in large and busy smart homes.
How do I know if my Reolink connection issue is from my ISP, router, or the camera itself?
Start by testing the camera on your local network. If it works locally but fails remotely, the issue is likely with your ISP, router, or P2P/port forwarding configuration. If it fails both locally and remotely, test another device on the same cable or Wi‑Fi spot. If other devices work fine, the problem is probably the camera or NVR. If other devices also struggle, your router or network design is at fault. By comparing local vs. remote behavior and checking other devices, you can narrow down where the ‘Reolink camera connection failed’ error comes from.