
Onn Roku TV No Picture But Sound: Complete 2024 Fixing Guide
Introduction
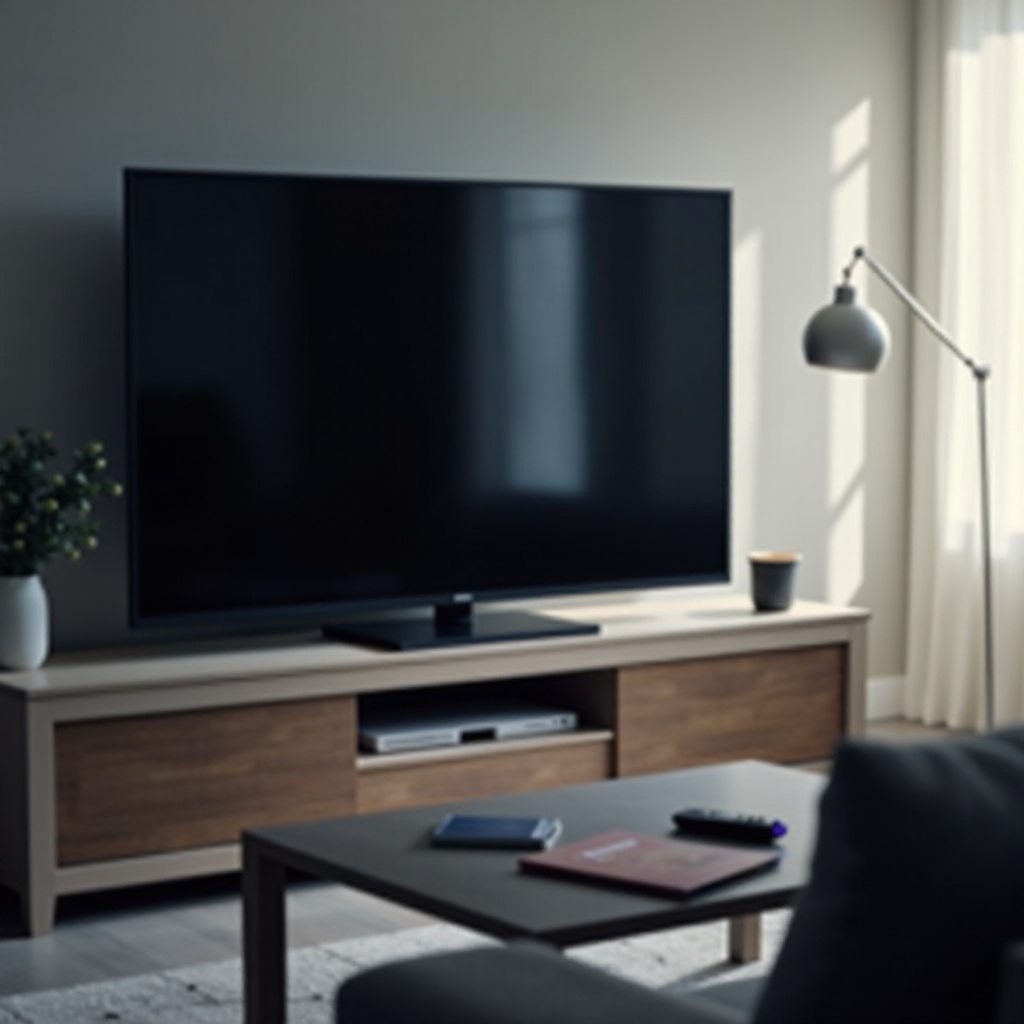
You sit down to watch a show, your Onn Roku TV turns on, you hear the familiar Roku sound, but the screen stays black. There is sound, the remote seems to work, yet you see nothing. This ‘no picture but sound’ problem is one of the most common issues Onn Roku TV owners report.
The good news is that you can often fix it at home without tools or advanced technical skills. In many cases, the cause is simple: a wrong input, a loose cable, or a minor software glitch. Even when the problem is more serious, like a failed backlight, you can still diagnose it yourself and make a smart decision about repair or replacement.
This guide walks you through all the likely causes and proven fixes for an Onn Roku TV with sound but no picture. You will start with easy checks, move on to settings and software solutions, and then learn how to spot hardware failures. By the end, you will know whether you can fix the issue yourself or need professional help.
Understanding the ‘No Picture But Sound’ Issue on Onn Roku TV
Before you start pressing buttons and unplugging cables, it helps to understand what this issue looks like and how your Onn Roku TV actually works. When you know the basics, each step you take will make sense rather than feel random.
What This Problem Looks Like in Real Life
When an Onn Roku TV has sound but no picture, you might see one or more of these symptoms:
- The screen is completely black, but you hear Roku startup sounds.
- The screen briefly shows the logo, then goes dark while sound continues.
- The backlight seems on (you see a faint glow), but there is no image.
- The TV responds to the remote (volume changes, apps launch), but you see nothing.
Sometimes the black screen happens only on certain inputs, like HDMI 1 or HDMI 2, while built-in apps still work. Other times, every source is affected.
These clues help you figure out whether the problem comes from the TV’s display system, an external device, or the Roku software.
How Onn Roku TV and Roku OS Handle Video Output
Your Onn Roku TV is a combination of:
- An LCD panel and backlight, which produce the actual image and light.
- Electronic boards, including the power board, main board, and T-Con board.
- Roku OS, the software that runs the smart TV interface and apps.
If you hear sound, the TV has power and Roku OS is likely running correctly. That means:
- The power board is at least partly working.
- The main board is sending audio to the speakers.
- The problem is more likely on the video side: settings, cables, panel, backlight, or video processing electronics.
Understanding this prevents you from wasting time focusing only on audio or power when those parts are usually fine.
Common Myths About Black Screen Problems
A few myths cause people to jump to the wrong fix:
- ‘If there is sound, the screen must be dead.’ Not always. It could be a cable, input, or software issue.
- ‘A factory reset fixes any black screen.’ A reset helps with software bugs, but it cannot repair a burned-out backlight or damaged board.
- ‘If one HDMI port is black, the whole TV is broken.’ Often, a single HDMI port or cable fails while others work fine.
With these basics in mind, you can now look at the main causes behind an Onn Roku TV no picture but sound issue and start narrowing down what is happening with your own TV.
Main Causes of Onn Roku TV No Picture But Sound
Several different problems can produce the same ‘black screen with sound’ symptom. Identifying the correct cause saves time and helps you pick the right fix instead of guessing.
Incorrect Input or Source Selection
If the TV is on the wrong input:
- The TV might show a black or ‘No Signal’ screen.
- You might hear Roku system sounds if the TV overlays audio or menus on top of a blank input.
- An external device, like a streaming stick or game console, may be off while the TV stays on that input.
This is one of the easiest issues to fix by cycling through the input options and confirming which device is active.
Loose or Faulty HDMI / AV Cables
HDMI cables carry both sound and video. However, in real-world use:
- A partially loose cable can cause video dropouts while still passing audio.
- A damaged HDMI port or cable can create an intermittent black screen.
- Dirt or oxidation on connectors can reduce signal quality.
Swapping cables and ports often reveals if this is the cause. A simple cable change can sometimes bring the picture back instantly.
Software or Firmware Glitches in Roku OS
Sometimes Roku OS experiences:
- Temporary display bugs after an update.
- Conflicts with certain display resolutions or HDMI devices.
- Issues related to Fast TV Start or power-saving features.
These glitches can cause the screen to go dark while the TV keeps playing audio. Restarting, updating, or resetting settings usually helps here.
Backlight or Display Panel Failure
The backlight is the light source behind your LCD panel. When it fails:
- The TV produces an image, but you cannot see it because there is no light.
- A flashlight test can reveal a faint picture on the screen.
- The sound works normally, and the TV responds to the remote.
Panel failures can also create no-picture symptoms, though they are often more expensive to repair than other components.
Power Board, Main Board, or T-Con Board Issues
If a board that handles video signals fails:
- Audio circuits may still work normally.
- Parts of the screen can flicker, show lines, or go black.
- The TV might only work for a few minutes before the picture disappears.
These hardware issues are harder to fix at home and often require professional diagnosis.
Now that you know the core reasons behind an Onn Roku TV no picture but sound issue, you can start with some simple checks that often solve the problem without any repair.
Quick Checks Before Deep Troubleshooting
Before you dive into advanced settings or consider hardware failure, rule out basic issues. These quick checks can restore the picture in a few minutes and help you confirm that the TV is responsive.
Verify Power and Standby Indicators
First, confirm that:
- The TV’s power LED behaves normally, turning on or changing color when the TV is on.
- The screen is not just dimmed because of energy-saving or sleep settings.
Turn the TV off and on with the power button on the remote, then with the button on the TV itself if available. This confirms the TV responds to power commands and is not locked up.
Check Remote and Buttons Are Responding
Use the remote to test basic functions:
- Press volume up and down and mute to check if the sound changes.
- Press Home or OK to see if the TV reacts; you may hear navigation sounds or app audio.
If the TV reacts, Roku OS is working. The problem is likely on the video side, not a full system crash.
Test With a Different Streaming App or Input
If possible:
- Press the Home button to return to the main Roku screen.
- Launch a different app, for example switch from Netflix to YouTube.
- Press the Input button and switch to another HDMI port that has a device connected.
If one app or input shows video while another does not, you have narrowed the issue down to a specific source or app rather than the entire TV. If every app and input show a black screen, continue to the basic fix steps.
Step-by-Step Basic Fixes for Onn Roku TV Black Screen With Sound
The basic fixes below solve many Onn Roku TV no picture but sound issues. Work through them in order and test after each step so you know which one solves the problem.
Soft Reset: Restarting Your Onn Roku TV From the Remote
A soft reset clears temporary glitches without erasing your settings.
To perform a system restart using the remote:
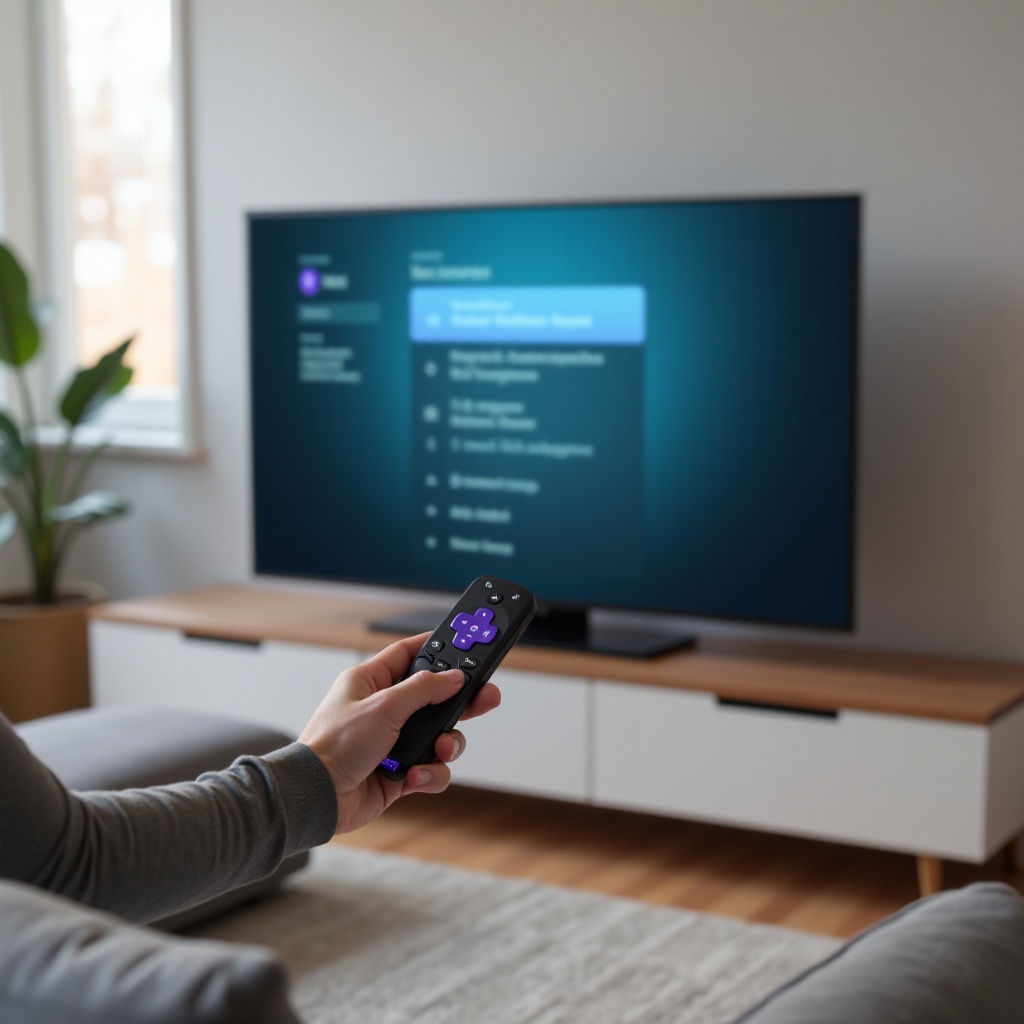
- Press the Home button on your Roku remote.
- Navigate to Settings > System > Power.
- Select System restart.
- Choose Restart and wait while the TV turns off and back on.
After the restart, check if the picture returns on the home screen and in your apps.
Power Cycle: Unplugging and Draining Residual Power
Power cycling clears deeper temporary faults that a simple restart may not fix.
- Turn off the TV.
- Unplug the power cord from the wall outlet.
- Wait at least 60 seconds.
- While unplugged, press and hold the power button on the TV (if it has one) for 10–15 seconds to discharge residual power.
- Plug the TV back in and turn it on.
A full power cycle often restores video when simple restarts fail, especially after a minor power surge.
Confirming and Changing the Correct Input Source
If the TV is set to the wrong input, you may see a blank or black screen even though the TV itself works fine.
- Press the Input or Source button on the remote (or use the Onn Roku on-screen input menu).
- Cycle through HDMI 1, HDMI 2, AV, and TV inputs.
- Pause for a few seconds on each input and listen for changes in audio or app sounds.
If video appears on one input, make sure your devices are connected to that source going forward.
Reseating and Swapping HDMI and Other Cables
Next, rule out cable and port issues.
- Turn off the TV and all connected devices.
- Unplug each HDMI cable from the TV and each device.
- Inspect the cables and ports for damage, bent pins, or debris.
- Firmly reconnect them, making sure they click into place.
- If possible, use a known-good HDMI cable.
You can also:
- Switch the device from HDMI 1 to HDMI 2.
- Test the same device on a different TV to confirm it works.
Testing With Another Device (Blu-ray, Game Console, Streaming Stick)
If the TV shows a picture from one device but not another, the problem may lie with the original device, not the TV.
- Connect a different device to the same HDMI port.
- Use the same HDMI cable for a clean test.
- Power it on and see if there is video.
If the second device works, troubleshoot or reset the original device. If none of these basic steps bring back the image, it is time to look at more advanced settings and software fixes that control how your Onn Roku TV handles the display.
Advanced Picture and System Settings Fixes
When simple checks and basic fixes fail, the issue may involve Roku OS settings or firmware. Adjusting these can often bring the picture back without any hardware repair.
Turning Off Fast TV Start / Power Saving Features
Fast TV Start and certain power-saving options can cause display problems after the TV wakes from standby.
To disable Fast TV Start:
- Press Home on the remote.
- Go to Settings > System > Power.
- Look for Fast TV Start.
- Turn this feature Off.
After switching it off, perform a System restart and test again to see if the picture now appears as normal.
Adjusting Picture, Brightness, and Display Type Settings
Wrong display or brightness settings can make the screen appear black or too dim, especially in a bright room.
- Press Home and go to Settings > TV picture settings or a similar option.
- Check brightness and backlight levels, and increase them if they are very low.
- Go to Settings > Display type.
- Try changing the display type, for example from 4K HDR to 1080p, and confirm the new setting.
If the picture appears on a lower resolution, you may have a compatibility issue with certain devices or content using higher resolutions.
Resetting Picture Settings to Factory Defaults
If you changed many picture settings over time, a reset can help restore visibility.
- Press Home on the remote.
- Go to Settings > System > Advanced system settings.
- Look for Factory reset > Reset TV picture settings.
- Confirm the reset.
This action affects picture settings only, not apps or accounts. After this, test different apps and inputs again.
Updating Roku OS to the Latest 2024 Firmware
Roku releases updates to fix bugs, improve performance, and enhance compatibility.
To check for updates:
- Press Home.
- Go to Settings > System > System update.
- Select Check now.
- If an update appears, install it and allow the TV to restart.
After the update, check whether the picture returns on all inputs and apps. If not, one last software-level option remains.
Performing a System Restart Through the Settings Menu
If the TV still acts strange, another system restart from the menu can help clear lingering glitches.
- Go to Settings > System > Power.
- Select System restart.
- Choose Restart and wait until the TV powers back on.
At this point, if software fixes do not resolve the issue, a deeper reset may be needed to rule out stubborn software corruption.
Factory Resetting Your Onn Roku TV Safely
A full factory reset returns your Onn Roku TV to its original state. This can fix stubborn software problems but will erase all your settings and installed channels, so use it with care.
When a Factory Reset Is Actually Necessary
Consider a factory reset if:
- You tried all previous steps without success.
- The TV shows a black screen even on the home menu.
- Software bugs started after an update or major change and never cleared.
Do not reset if you strongly suspect a hardware fault like a backlight failure, because a reset cannot repair physical damage and may waste time.
How to Factory Reset Using the Remote and On-Screen Menu
If you can still see menus faintly or intermittently:
- Press Home.
- Go to Settings > System > Advanced system settings.
- Select Factory reset.
- Choose Factory reset everything.
- Enter the code shown on-screen to confirm.
The TV will restart as a new device and walk you through the setup steps.
How to Use the Physical Reset Button on the TV
If the screen is completely black but sound indicates the system runs, use the physical reset button.
- Find the small Reset button on the back or side of your Onn Roku TV, often a pinhole.
- With the TV powered on, press and hold the button for about 10–15 seconds using a paperclip or similar tool.
- Release the button when the TV restarts and the startup logo appears.
This forces a full factory reset even if the on-screen menus are not visible.
Re-setting Up Channels, Wi‑Fi, and Accounts After Reset
After the factory reset:
- Connect the TV to Wi‑Fi again through the network setup screen.
- Sign back into your Roku account.
- Reinstall channels and apps you use often.
- Reapply picture settings and display type preferences.
If the picture still does not appear after a full reset, you are likely dealing with a hardware issue rather than software. The next step is to test for backlight and board problems.
How to Diagnose Backlight and Hardware Problems
Once software and settings fixes fail, you need to determine whether the display hardware itself is faulty. The following checks help you confirm that and avoid unnecessary repair attempts.
Using the Flashlight Test to Check for Backlight Failure
The flashlight test is a simple way to detect a failed backlight:
- Turn on the TV in a dark room.
- Play content or stay on the home screen so there should be an image.
- Shine a bright flashlight at the screen from close range at different angles.
- Look carefully for faint images or menu outlines where the light hits.
If you see a dim picture, the panel is working but the backlight is off or very weak. This points to a backlight or power circuit issue.
Signs of a Failing Backlight Versus a Bad Main Board
Backlight issues often show:
- Picture appearing briefly, then fading to black as the LEDs shut down.
- Screen going dark but sound continues without glitches.
- Faint images visible only with a flashlight.
Main board or T-Con issues tend to show:
- Lines, blocks, or strange colors on screen before it goes black.
- Intermittent video that returns when you tap or move the TV (not recommended, but common user behavior).
- Video issues on all inputs even after swapping cables and devices.
Understanding the difference helps you decide whether repair is worth it and what kind of service to request.
When the Screen Flickers, Goes Dim, or Randomly Turns Black
You might see:
- Occasional flashes of picture followed by darkness.
- A very dim picture that never reaches normal brightness, even with brightness turned up.
- The screen cutting out when the TV warms up or after it has been on for a while.
These are classic signs of failing LEDs in the backlight or a power delivery problem to the panel, and they usually get worse over time.
Why DIY Board or LED Strip Replacement Is Risky
Replacing LED strips, power boards, or main boards is not a simple DIY job for most people:
- You must remove the back cover and lift out the fragile LCD panel.
- Static discharge or small mistakes can permanently damage the TV.
- Incorrect parts can cause more problems or safety risks, including short circuits.
Because Onn TVs are budget-friendly, a major hardware repair often costs a large share of a new TV. For most users, professional service or replacement makes more sense than a risky DIY repair.
Repair, Warranty, and Replacement Options in 2024
Once you suspect hardware failure, you need to compare repair costs, warranty coverage, and replacement prices. This helps you decide whether to fix or replace your Onn Roku TV.
Checking Onn Roku TV Warranty and Store Protection Plans
Start by:
- Reviewing your purchase receipt or online order history.
- Checking the manufacturer warranty period for your specific model.
- Looking at any store protection plan you bought, such as an extended warranty from the retailer.
If the TV is within warranty or covered by a protection plan, contact the support channel listed in your documentation before paying for any repair.
When to Contact Onn or Roku Support
Contact support if:
- You confirmed the issue affects all inputs and apps.
- Resets and updates do not fix the problem.
- The flashlight test suggests a backlight problem and the TV is still under coverage.
Support can guide you through extra checks and tell you whether repair or replacement under warranty is possible, and what steps to follow.
Typical Repair Costs vs Buying a New TV in 2024
In 2024, TV repair costs vary, but you can use rough guidelines:
- Minor board replacement often costs a significant percentage of the TV’s original price.
- Full backlight replacement can be costly in both parts and labor.
- Diagnostic fees may apply even if you choose not to repair.
Because Onn Roku TVs are affordable, a major repair might approach the price of a new TV. In that case, replacement is often the better choice.
How to Decide if Your Onn Roku TV Is Worth Fixing
Ask yourself:
- Is the TV still under any warranty or protection plan?
- How much did you pay, and how old is it?
- Does repair cost more than half the price of a comparable new TV?
If repair costs are high and there is no warranty, replacing the TV with a newer model can offer better features, efficiency, and a fresh warranty.
Once you fix or replace your current TV, you can take a few simple steps to reduce the chances of another ‘no picture but sound’ issue in the future.
Preventing Future Black Screen Issues on Onn Roku TV
Even if you solve the current problem, good habits and setup choices can help your Onn Roku TV stay reliable longer and avoid many common black screen issues.
Using Quality Cables and Surge Protection
- Buy mid-range HDMI cables from trusted brands and avoid very low-quality options.
- Use a surge protector to protect the TV from power spikes and brief outages.
- Avoid bending HDMI cables sharply or stressing the ports.
Stable power and reliable cables help prevent many signal and hardware issues that can cause black screens.
Keeping Your TV Firmware Updated Regularly
- Enable automatic updates on your Roku TV if available.
- Manually check for updates every few weeks through the System update menu.
- Allow updates to complete fully before unplugging or turning off the TV.
Staying up to date helps fix known bugs and improve compatibility with apps and devices you use daily.
Best Practices for Powering the TV On and Off
- Avoid unplugging the TV while it is on unless absolutely necessary.
- Use the remote or TV power button instead of pulling the plug.
- If you use a power strip, turn the TV off before shutting the strip off.
These habits protect internal components from sudden power loss and reduce stress on the power board and backlight.
Placement, Ventilation, and Dust Management Tips
- Leave space around the TV for airflow and do not block vents with furniture or décor.
- Avoid direct sunlight and excessive heat, which can damage internal parts over time.
- Dust the vents and back panel regularly with a dry cloth or gentle air to keep airflow paths clear.
Good ventilation keeps internal parts cooler and can extend the life of the backlight and boards, making another ‘onn roku tv no picture but sound’ issue less likely.
Conclusion
An Onn Roku TV with no picture but sound can be frustrating, but it does not always mean your TV is dead. In many cases, you can restore the image by checking inputs, reseating cables, restarting the system, and adjusting picture settings. A careful factory reset can clear deeper software glitches when other steps fail.
If those fixes do not work, the flashlight test and other checks help you confirm whether the backlight or internal boards are to blame. At that point, your decision depends on warranty coverage and repair costs compared with buying a new TV.
By following the steps in this guide, you can solve most black screen issues on an Onn Roku TV and decide confidently when it is time to repair or replace. Simple preventive measures, like good cables, safe power habits, and proper ventilation, will also help you avoid future ‘no picture but sound’ problems and keep your TV running smoothly for longer.
Frequently Asked Questions
Why does my Onn Roku TV have sound but no picture even after a reset?
If you still have no picture after a factory reset, the problem is likely hardware-related. Common causes include a failed backlight, damaged power or main board, or a faulty T-Con board. Use the flashlight test to check for a faint image on the screen. If you see one, the backlight is probably bad. At that stage, contact support or a repair technician, and compare repair costs with the price of a new TV.
Can I fix an Onn Roku TV backlight issue myself at home in 2024?
Technically, you can replace LED backlight strips or boards yourself, but it is risky. You need to disassemble the TV, handle a fragile panel, and work around electronics that can carry dangerous voltages. A mistake can ruin the screen or create a safety hazard. Because Onn TVs are budget-friendly, professional repair or replacing the TV is usually more practical than a DIY backlight repair for most users.
How do I know if it’s cheaper to repair or replace my Onn Roku TV with no picture?
First, check whether your TV is still under warranty or covered by a store protection plan. If not, ask a local repair shop for an estimate after you describe the symptoms. Compare that estimate to the price of a new Onn Roku TV or similar model in 2024. If the repair cost is close to or more than half the price of a new TV, replacement typically offers better value, plus a fresh warranty and updated features.