Where Do Print Screens Go in Windows 11? A Complete Guide
Introduction
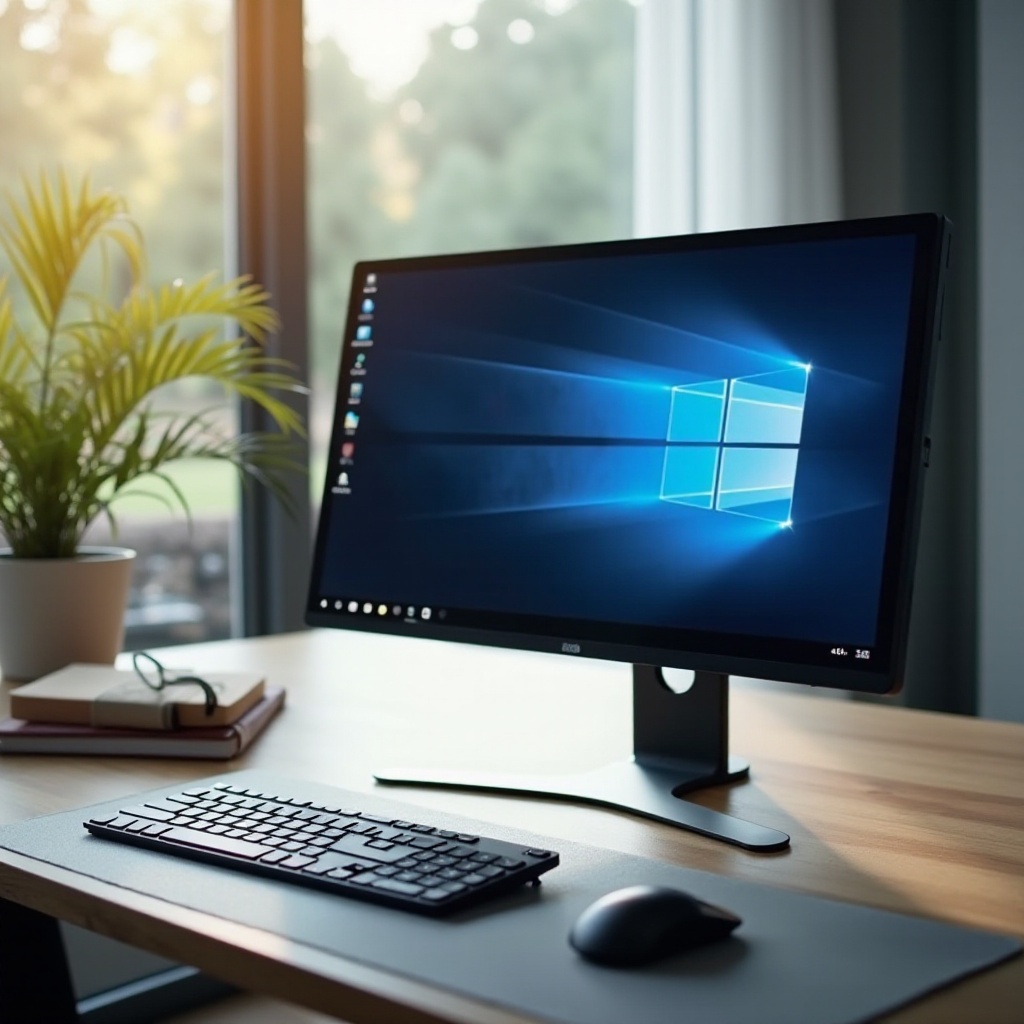
Screenshots have become an integral aspect of navigating our digital lives, especially for those in tech environments. Capturing your screen using the straightforward print screen command can be vital for sharing information or documenting your work. However, many users often find themselves puzzled about where these screen captures are stored and how they can be accessed. This comprehensive guide will help you demystify the storage locations of print screens in Windows 11, enabling you to find them efficiently and resolve frequent issues.
How to Take Screenshots in Windows 11
Windows 11 provides several methods for taking screenshots, each tailored to different needs. Knowing these can help you choose the best approach.
-
Using the Print Screen Key: By pressing the ‘Print Screen’ key, you capture your entire screen, which is then copied to your clipboard. Pasting it into an image editor like Paint allows you to save it. Alternatively, using ‘Windows Key + Print Screen’ automatically saves the screenshot to your Pictures folder.
-
Snipping Tool and Snip & Sketch: Windows 11 augments the old Snipping Tool with Snip & Sketch, offering more functionalities. Activate it with ‘Windows Key + Shift + S’ to capture a full screen, a window, or even a free-form area. Post-capture, your screenshot is copied to your clipboard, and you can edit and save it via Snip & Sketch.
-
Game Bar and Other Methods: For gamers, the Xbox Game Bar, activated by pressing ‘Windows Key + G,’ allows for screen captures amidst gaming sessions. It provides a comprehensive set of features, enhancing the gaming experience.
Understanding how to take screenshots is one part; the next crucial step is knowing where these are stored and how to access them.
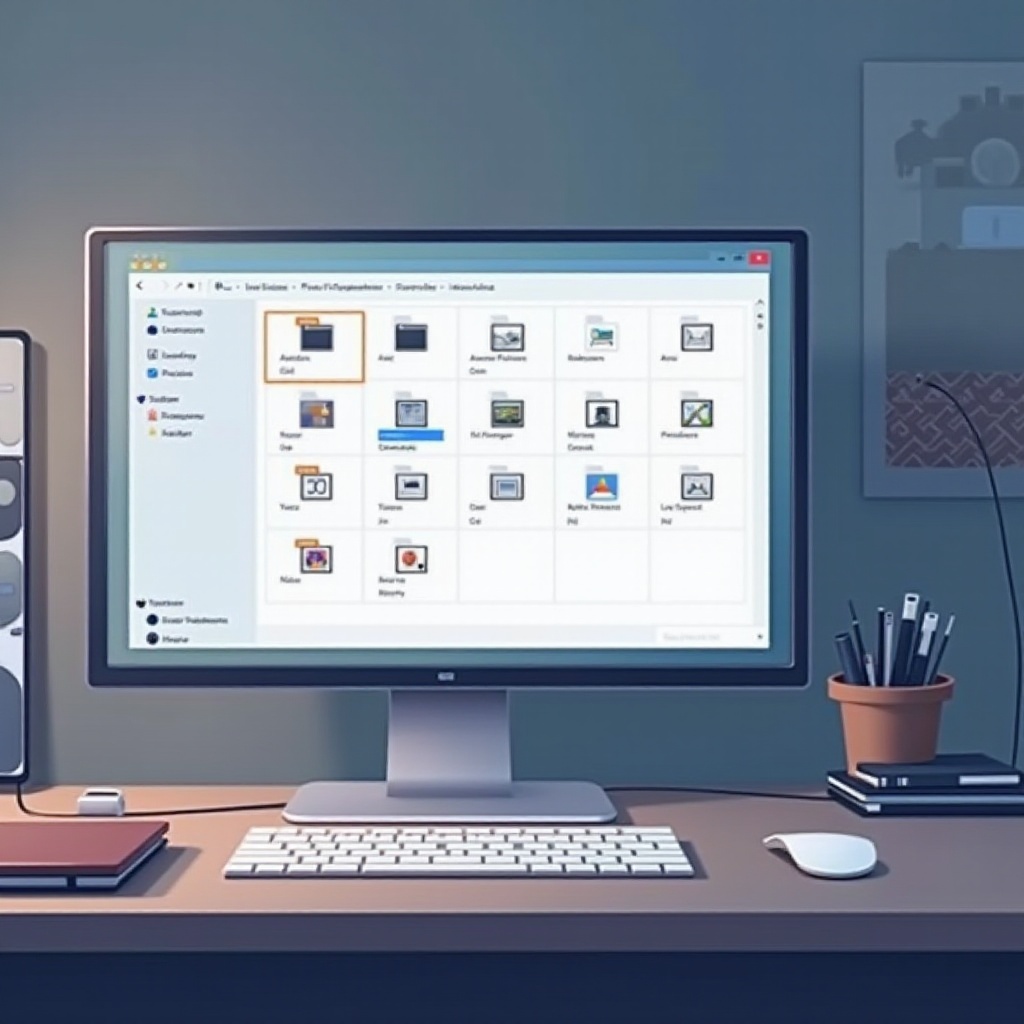
Default Save Locations for Screenshots
Once you capture screenshots, they find their way to various locations based on how you’ve taken them.
-
The Pictures Folder: Screenshots captured using ‘Windows Key + Print Screen’ are auto-saved in the ‘Screenshots’ sub-folder in your Pictures directory. Access this conveniently via File Explorer.
-
Clipboard Functionality: If you use just the Print Screen key, your snapshot goes to the clipboard, requiring you to paste it into an image editor or document for saving.
-
OneDrive Integration: Users of OneDrive can configure automatic saving of screenshots to the cloud. Check your OneDrive settings to enable this feature, ensuring accessibility across devices.
Now that you know the default locations for screenshots, let’s focus on how you can access and manage them effectively.
Accessing and Managing Your Screenshots
Locating and organizing your screenshots empowers you to retrieve and use them efficiently.
-
Navigating File Explorer: Open File Explorer and head to the Pictures > Screenshots folder for accessing dynamically saved screenshots. A quick search within the folder will bring up specific files if you’ve renamed them.
-
Using Search Functions: Leverage the search box in File Explorer by entering keywords or file extensions to swiftly find your screenshots.
-
Organizing with Folders and Tags: To streamline your workflow, create sub-folders and tags. This is crucial for separating work-related images from personal ones for easier access.
With your organization in place, let’s explore how you can personalize where these screenshots save.
Changing the Default Save Location for Screenshots
To tailor the save path for screenshots, go through these steps:
- Access your Pictures > Screenshots folder in File Explorer.
- Right-click the Screenshots folder and select ‘Properties.
- In the ‘Properties’ window, navigate to the ‘Location’ tab.
- Click ‘Move…’ and select your preferred storage folder.
- Confirm your changes for the new location to take effect.
Now, with customized settings, let’s address possible issues you might encounter while managing screenshots.
Troubleshooting Common Screenshot Issues
Screenshots, while simple, sometimes pose challenges. Here’s how to troubleshoot frequent problems:
-
Screenshots Not Saving: Double-check your keyboard shortcuts. Ensure sufficient storage in the designated save folder.
-
Print Screen Key Not Working: Confirm that your keyboard’s Print Screen key functions. If using a laptop, consider toggling the ‘Fn’ key.
-
Permission and Access Problems: Examine file permission settings in your save directory. Running Windows Troubleshooter can also help resolve persistent issues.
Armed with solutions, you can further enhance your experience with convenient tools.
Enhancing Your Screenshot Experience
Though built-in tools suffice, third-party options offer more for those seeking enhanced functionality.
-
Third-Party Screenshot Tools: Applications like Greenshot, Lightshot, or ShareX offer advanced features like cloud integration, editing, and direct sharing.
-
Editing and Annotating Screenshots: Utilize Snip & Sketch or third-party tools for essential editing tasks such as cropping and adding annotations. These enhancements are beneficial for crafting clear, concise images.
Having explored expanded capabilities, let’s wrap up this guide with a quick summary.
Conclusion
Streamlining your workflow with print screens in Windows 11 involves knowing how to capture and efficiently manage them. By combining Windows’ native tools and third-party software, you can solve common problems and boost productivity in managing your screenshots.
Frequently Asked Questions
How do I change where my screenshots are saved on Windows 11?
You can adjust the save location through the ‘Properties’ of the Screenshots folder using the ‘Location’ tab.
Why aren’t my print screens showing up anywhere?
Ensure correct keyboard shortcuts and verify that the screenshots are not stuck in the clipboard.
Can I use third-party apps to manage my screenshots better?
Yes, third-party apps provide additional features that significantly enhance screenshot management and editing.