How to Seamlessly Transfer Google Authenticator to Your New Phone
Introduction
Moving Google Authenticator to a new phone is essential for maintaining the security of your accounts through two-factor authentication (2FA). Whether you’re upgrading your device or replacing a lost phone, transferring Google Authenticator is crucial. This guide provides detailed instructions, troubleshooting tips, and best practices to ensure a smooth transition. By the end, you’ll have successfully transferred your authenticator and secured your accounts on a new device.

Why You Need to Transfer Google Authenticator to a New Device
Transferring Google Authenticator to your new phone is vital for maintaining security and accessibility. With 2FA, having the authenticator app on your current device is crucial for verifying your identity. Changing phones means setting up this security layer anew to protect your accounts from unauthorized access. Whether upgrading to the latest model or replacing a damaged phone, ensuring a seamless transition of Google Authenticator prevents disruptions in accessing essential services.
It’s important to prepare your old device before starting the transfer. Without proper preparation, moving your accounts might become complicated. Proper preparation secures your accounts during transfer and lays the groundwork for a straightforward setup on your new phone.
Preparing Your Old Device for Transfer
Before moving your Google Authenticator, take necessary steps on your old device. These steps are crucial to maintaining the security of your accounts during the transfer.
- Backup and Secure Your Accounts:
- Record all backup codes provided by the services you’re securing with Google Authenticator. These codes provide an alternative if you encounter problems later.
-
Note down essential details for each account linked to your Google Authenticator.
-
Update Google Authenticator:
- Make sure your Google Authenticator app is up-to-date on your old device. This ensures access to the latest features and security patches for a smooth transfer.
Now that your old device is prepared, you can move on to setting up Google Authenticator on your new phone.
Setting Up Google Authenticator on Your New Phone
With your old device ready, setting up Google Authenticator on your new phone is the next step. Follow these steps for a smooth setup.
- Install and Set Up the App:
- Download and install Google Authenticator from the app store on your new phone.
-
Open the app and allow it to use your phone’s camera for QR code scanning.
-
Exporting and Importing Accounts:
- On your old phone, open Google Authenticator and navigate to settings.
- Utilize the ‘Export accounts’ feature to display a QR code.
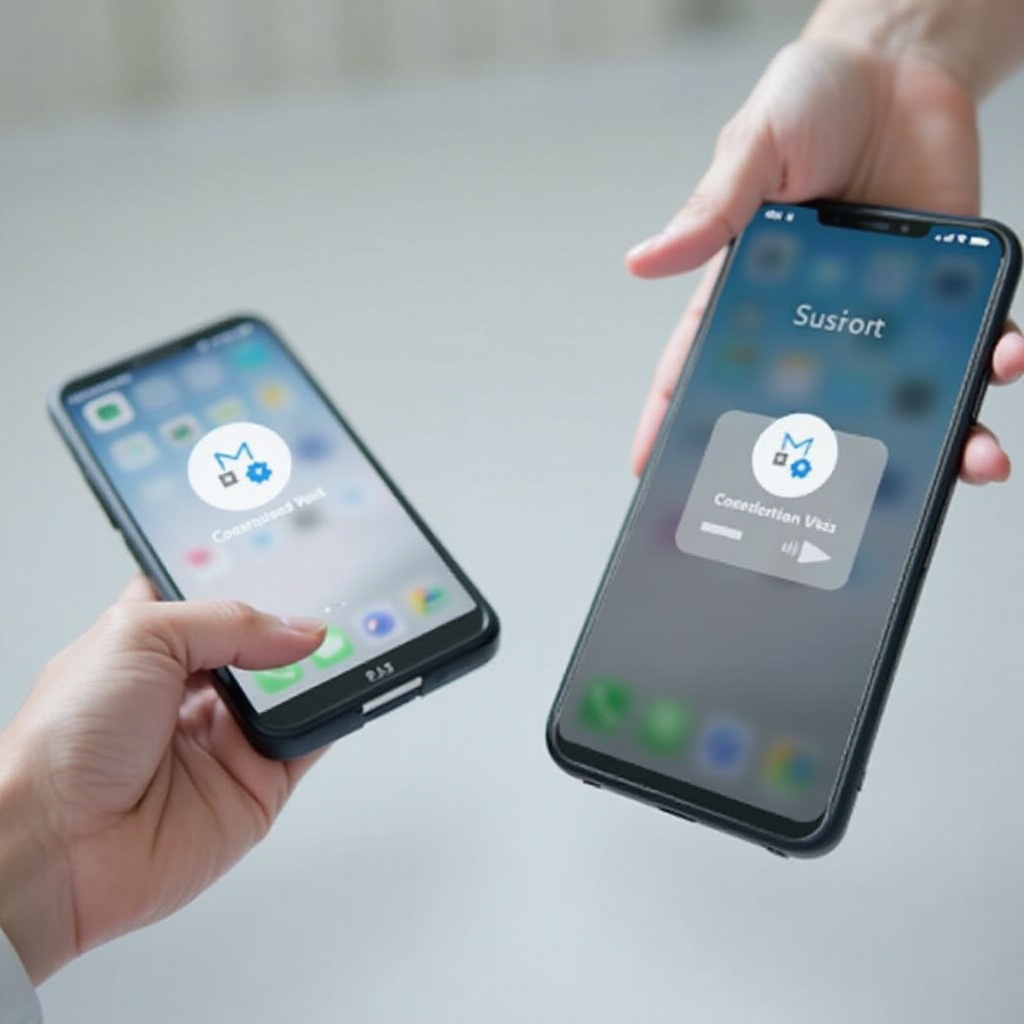
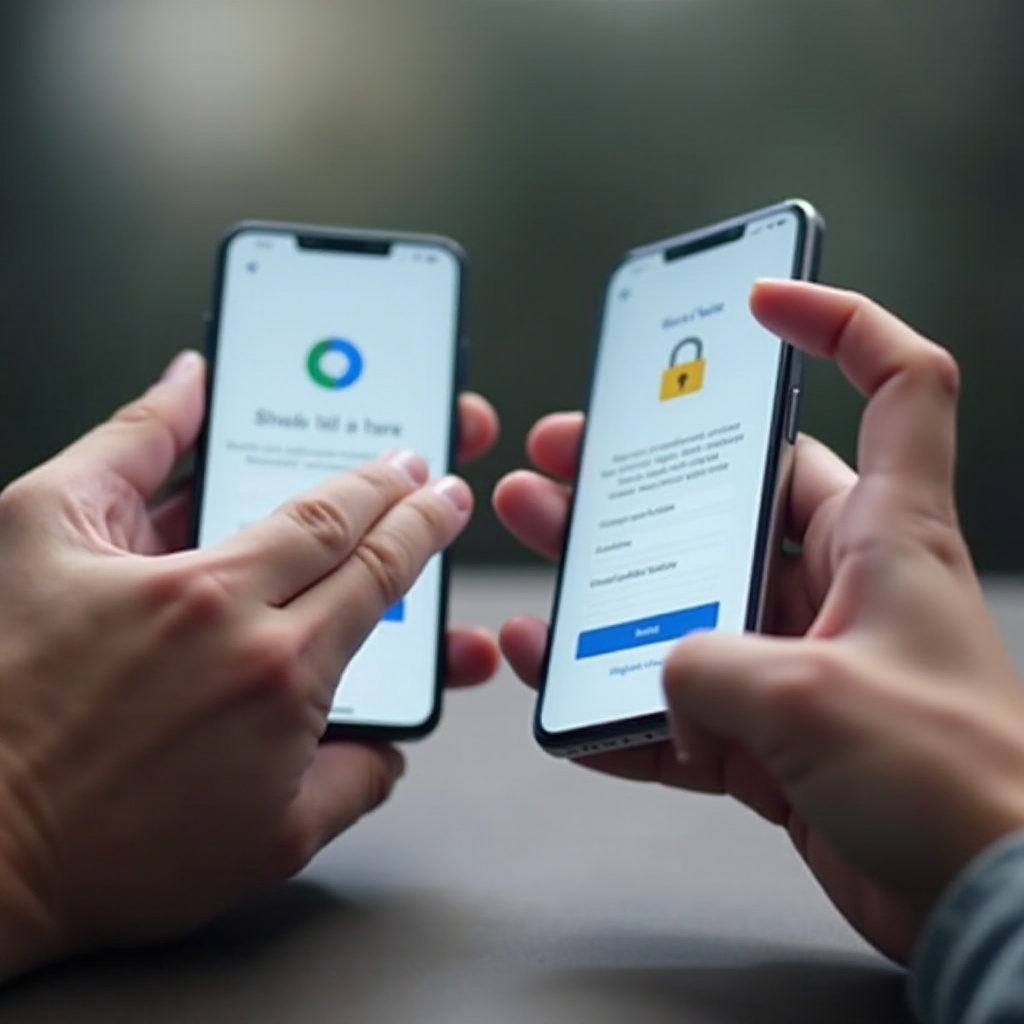
- On your new phone, select ‘Import accounts’ and scan the QR code displayed on your old phone.
- Verify that all your accounts have successfully transferred.
Occasionally, issues might arise during this transfer. The next section addresses common problems and their solutions.

Troubleshooting Common Issues
Transferring Google Authenticator is generally straightforward, but occasionally, issues can appear. Here’s how to resolve some common transfer problems.
- QR Code Scanning Problems:
- Ensure your old phone’s brightness is high enough to display the QR code clearly.
-
Clean your new phone’s camera lens and retry scanning.
-
Syncing and Time Settings Issues:
- Ensure both devices have the correct date and time settings.
-
Sync your new phone’s time manually if automatic syncing doesn’t resolve errors.
-
Lost Access to Accounts:
- Use backup codes you recorded earlier to regain account access.
- Contact the provider’s support team if backup codes aren’t available.
With these troubleshooting steps, you should set up your Google Authenticator on your new phone. To avoid similar issues in the future, implement these best practices.

Best Practices for Future Transfers
To maintain security and ease future transfers, consider these best practices:
- Utilize Backup Codes:
-
Always generate and store backup codes securely for accounts using 2FA. Backup codes can save time and effort if you lose your phone or encounter issues with the app.
-
Manage Multiple Accounts:
- Organize and label all your accounts within Google Authenticator. Clear labeling simplifies identification and management during future transitions.
- Regularly review and clean up accounts that no longer need 2FA, ensuring a clutter-free setup.
Applying these practices makes managing Google Authenticator seamless. Let’s wrap things up.
Conclusion
Successfully moving Google Authenticator to a new phone is crucial for maintaining account security. By following the guide’s preparation, setup procedures, and troubleshooting tips, you ensure uninterrupted access to your accounts. Implementing best practices like using backup codes and efficiently managing accounts helps prevent future issues. Secure your accounts confidently, knowing you’re prepared for any phone transition.
Frequently Asked Questions
What should I do if I lose my phone with Google Authenticator?
Use backup codes to log in. Contact service support for account recovery options.
How can I backup Google Authenticator codes?
Generate and save backup codes for each account in secure storage, like a password manager.
Can I use Google Authenticator on multiple devices?
Yes, configure the authenticator on another device using the same QR code or account details during setup.
